Looking for some creepy nail art to do for Halloween? Try this fun blood spatter manicure! It’s actually really simple to do.
Here’s what you’ll need:
White nail polish
Red nail polish
Straw
Stapler
Scotch tape (optional)
First, paint your nails all white. I used White Hot by Sephora by OPI.
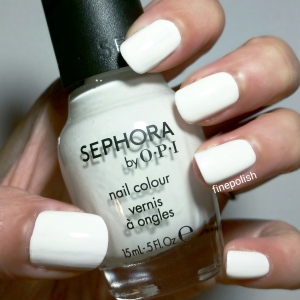
All white and so bright: White Hot nail polish by Sephora by OPI.
To keep things neat and to minimize the clean up effort afterward, I applied a piece of Scotch tape over my cuticles. You can opt to also cover the skin on the sides of your fingernails as well, or you can choose to skip this step completely if you don’t care about cleaning up the excess spatter (great if you want the final look to be extra gory). But let’s face it- the polish on your skin will rub off in a day or two, anyway.
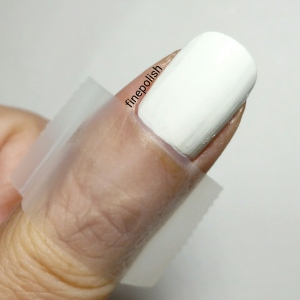
Scotch tape is applied to the skin to catch any excess spatter that might happen outside of your nail bed.
The spatter technique is done with a straw. This part works best if you can get a straw with a very narrow opening. If you can’t get one, no worries, you can make any straw into the correct size. Take your straw and using a stapler, attach a staple lengthwise towards the opening that goes through both sides of the straw so that you create two small channels at one end.
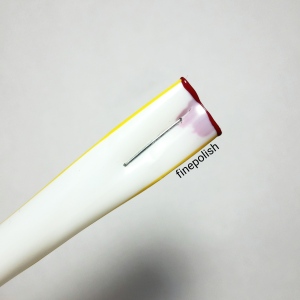
This straw was obviously used before I took the photo, but you can see how I flattened out the straw and positioned the staple in the middle fairly close to the tip.
Now here’s the fun part.
Brush the openings of the straw with your red nail polish so that the holes are filled. They don’t need to be filled a lot, but you need to block the holes with the nail polish. If you’re having trouble filling the holes, try making a new straw with a smaller opening and only block the small hole with the nail polish.
Aim the straw so that the polish is close to your nail and blow! The polish should splatter all over your nail like it does in a good murder scene. Keep repeating this technique until you’re satisfied with your blood spattering, and then peel the tape off.
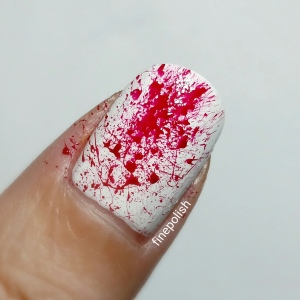
It’s a crime scene! Spatter nail art using Tip Your Hat by China Glaze for a bloody look.
Apply a top coat, and you’re all done!
I wish I had a full manicure of this look, but the blood was just a small part of a bigger picture:
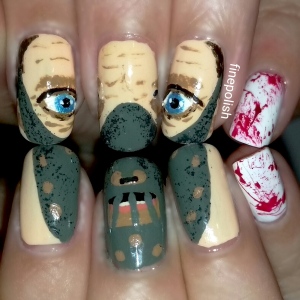
Hey, isn’t that Hannibal Lecter?
I also apologize if this does not seem like a very thorough tutorial. The truth is that I wasn’t planning on making this post, but I realized that I would have to break down the steps in my bigger entry about the above design. I’m still in the process of editing photos for the Hannibal nails, so I figured I could save a step and give you a how-to on the bloody part first. I think the blood turned out the best, anyway. 😛
Hope you have fun trying this out at home, and have a great Halloween! Happy polishing!